
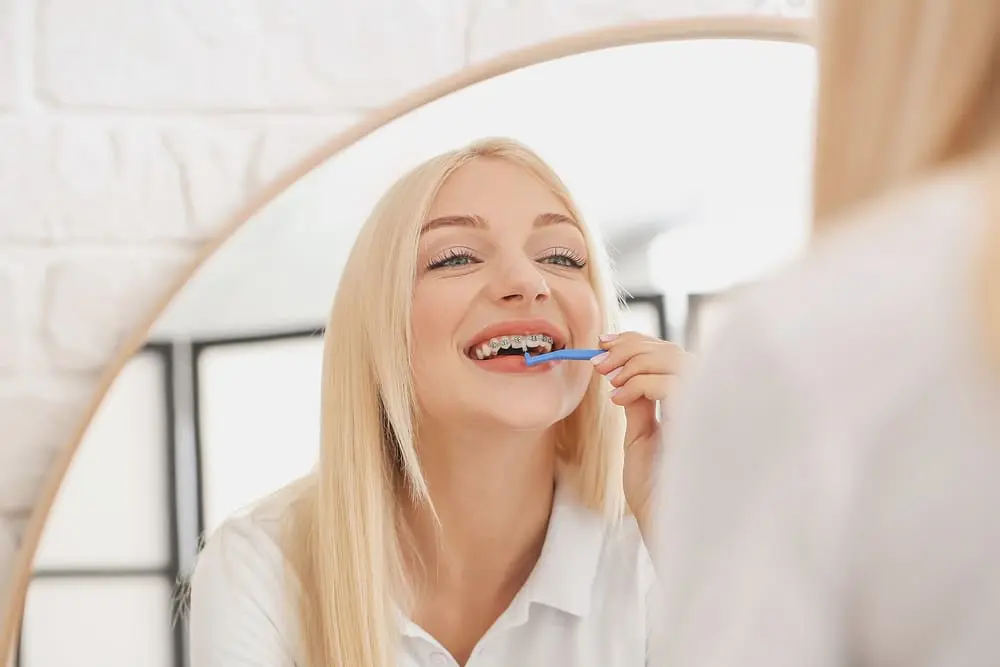
Getting floss under the archwire at every tooth is the short answer of how to floss with braces, then cleaning both sides of each contact point the way you would without braces.
A plastic floss threader or a stiff-ended orthodontic floss pulls regular floss beneath the wire; a Platypus-style flosser is a faster option for many adults. A water flosser is a helpful daily adjunct but does not fully replace string floss between teeth. Floss at least once a day, because braces add surface area that traps plaque against the enamel and gumline.
Dr. Rodrigo Viecilli, an ABO Diplomate with a PhD in orthodontic biomechanics and 27-plus publications, has treated more than 5,000 cases at Limestone Hills in Austin. The pattern he sees with flossing is consistent and worth stating plainly.
Brackets and wires give plaque more places to hide and hold it closer to the enamel and the gumline. Plaque left there for weeks does two things: it inflames the gums, and it pulls minerals out of the enamel surface, leaving chalky white-spot marks where a bracket sat. Inflamed gums slow tooth movement, and the white-spot marks can stay visible permanently after braces come off.
The patients who keep daily flossing through treatment finish with healthier gums and cleaner enamel. The patients who rely on brushing alone are the ones who most often see gum puffiness and white spots at removal. Flossing is not optional hygiene with braces; it is part of the treatment.
Why Flossing Matters More with Braces
Without braces, the contact point between two teeth is the one spot a toothbrush physically cannot reach. With braces, that is still true, and the brackets and wire add even more sheltered surface where plaque collects and stays.
Plaque is a living bacterial film. Brushing clears it from open tooth surfaces, but it rebuilds within hours, and it survives best in the places a brush skips: between the teeth and right at the gumline around each bracket. Floss is the tool that physically breaks that film at the contact point. Nothing else does the same job there.
Two problems follow when plaque sits between braced teeth for weeks. The gums get inflamed, puffy, and bleed easily, which slows the bone remodeling that lets teeth move. And the enamel demineralizes, leaving permanent chalky white-spot marks in the exact footprint of the bracket. Both are preventable, and daily flossing is the step that prevents them.

The Tools for Flossing with Braces
Four tools cover flossing with braces. Each does the same core job, getting floss to the contact point under the wire, with a different trade-off in speed and cost. The right one is the one a patient will actually use every day.
- Floss threader with waxed floss. A small disposable plastic loop, like a soft plastic needle. Regular waxed floss threads through the loop, and the loop carries it under the archwire. Lowest cost, sold in packs of 50 to 100, lasts months. The trade-off is speed: re-threading at every tooth is slower than the other options, especially at first.
- Orthodontic floss with a stiff end. A pre-cut strand with one end stiffened into a built-in threader, a spongy middle section, and regular floss on the rest. No separate threader needed. Often sold as Superfloss or similar orthodontic floss. Faster per tooth than a separate threader, costs more per use.
- Platypus-style orthodontic flosser. A flat, thin plastic flosser with a hairpin tip designed to slide under the archwire without threading, and a floss span on a handle. Many adults find it the fastest hand-flossing option with braces. Single-use or limited-use; a per-tooth cost similar to ortho floss.
- Water flosser (Waterpik or similar), as a daily adjunct. A device that sends a pulsed water stream around brackets, under the wire, and along the gumline. It rinses food and loose plaque effectively and is a strong daily addition. It is an adjunct, not a replacement, because the water stream does not break the bacterial film at the tight contact point between two teeth the way string floss physically does.
A practical kit is one string-floss method (threader, ortho floss, or Platypus) plus a water flosser as the daily adjunct. Limestone Hills sends new braces patients home with threaders and starter floss sized to the case and demonstrates the technique at the bonding appointment.
Tool choice often tracks age. Younger patients in braces tend to do best with whatever is fastest and hardest to skip, usually pre-cut orthodontic floss or a Platypus flosser, since a faster tool is one a tired teenager will still use.
Many adults are comfortable with a plain threader and waxed floss because it costs the least over a one-to-two-year case. There is no wrong choice here. The tool that gets used every day is the one that works, and it is reasonable to try two and keep the one that sticks.
The Step-by-Step Flossing Technique
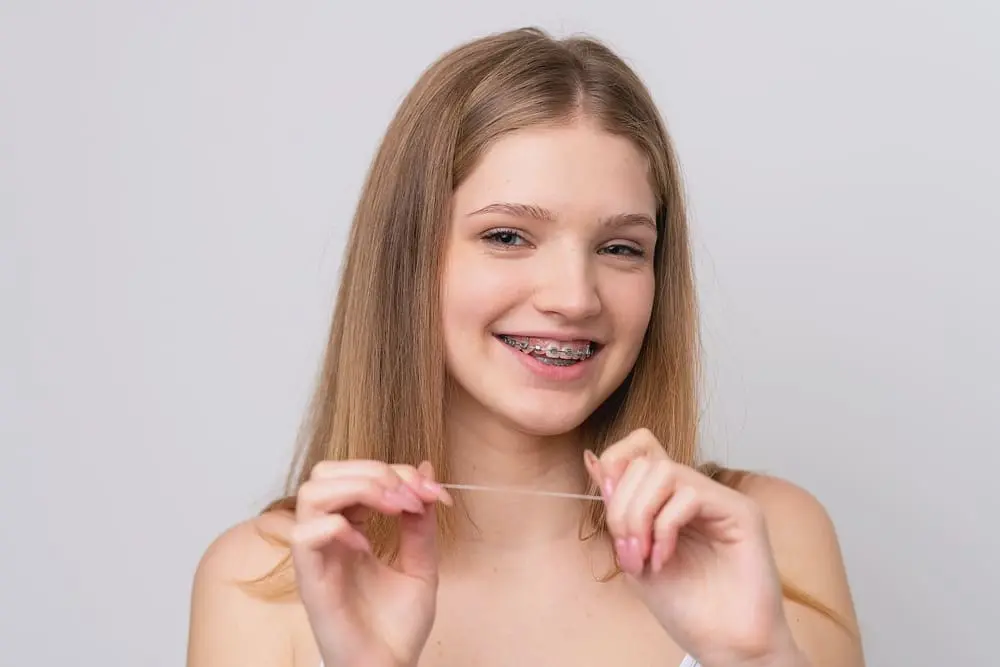
The core technique is the same whichever string-floss tool is used. The only thing that changes is how the floss gets under the wire: a threader loop, a stiff floss end, or a Platypus tip. Once the floss is under the archwire, every tool flosses the same way.
The six-step method, tooth by tooth:
- Cut a working length, about 18 inches, if using a threader. Pre-cut orthodontic floss and Platypus flossers skip this step. With a threader, thread one end of the floss through the plastic loop so a few inches hang through.
- Pass the floss under the archwire at the tooth you are working on. Push the threader loop, the stiff floss end, or the Platypus tip between the wire and the tooth from the outside of the mouth, and pull the floss through until it sits beneath the wire with an end on each side.
- Wrap the floss around your fingers and take up the slack. Hold a short, controlled span of floss between two fingers. A long loose span is hard to steer around a bracket and the gumline.
- Hug the floss into a C-shape against one tooth and slide it gently up and down. Curve the floss so it wraps the side of the tooth rather than snapping straight down. Clean the full surface of the contact, then move the C-shape to the neighboring tooth and repeat against that side.
- Ease the floss just under the gumline, gently. A slight dip below the gum margin on each side is where the harmful plaque sits. Light pressure only. Sawing hard into inflamed gums makes bleeding worse, not better.
- Withdraw the floss and move to the next contact. Pull the floss back out from under the wire, advance to a fresh section of floss if using a threader, and repeat the pass at the next pair of teeth until every contact is done.
Work systematically, one side of the mouth to the other, upper arch then lower, so no contact gets skipped. The first sessions are slow because every step is new. By the second or third week most patients run it far faster, and a missed contact becomes obvious because it is the one that still feels rough.
A few technique errors are worth naming because they cause real harm rather than just slow the routine down:
- Snapping the floss straight down. Forcing floss hard into the gum instead of curving it in a C-shape against the tooth cuts the gum tissue and skips the side surfaces where plaque actually sits. Slow and curved beats fast and straight.
- Skipping flossing because it is slow. The contact point between teeth is never cleaned by brushing. Skipping it builds cavities and gum inflammation in spots that stay hidden until the braces come off.
- Treating the water flosser as the whole job. Rinsing with a water flosser and stopping there leaves the bacterial film intact at every contact point. The water flosser is the second step, not the only one.
- Reusing one short section of floss for the whole mouth. With a threader, advance to a clean section every few teeth so plaque is removed, not shuffled from one contact to the next.
These errors compound. A patient who snaps the floss and skips contacts collects gum inflammation and white-spot risk at the same time, while a patient who flosses gently and completely each day avoids both.
Where the Water Flosser Fits (Adjunct, Not Replacement)
A water flosser is one of the most useful daily additions to a braces hygiene routine, and it is also the tool patients most often misunderstand. It supports string floss; it does not stand in for it.
What it does well: a pulsed water stream rinses trapped food and loose plaque from around brackets, under the archwire, and along the gumline far faster than any brush or threader. For braces, that fast daily rinse has real value, especially after meals and for patients who struggle with the dexterity of hand flossing.
What it does not do: the water pressure rinses the surface, but it does not physically break the bacterial film at the tight contact point where two teeth touch. String floss scrapes that film off; water pressure flows around it. That contact point is exactly where cavities and gum problems start, so it cannot be the only step.
The strongest routine uses both. String floss, by threader, ortho floss, or Platypus, cleans the contacts once a day. The water flosser runs daily along the gumline and around every bracket, and again after lunch to clear trapped food between full sessions. Used together they cover more surface than either does alone.
Building the Habit (And the Candid Part)
The honest part first. Flossing with braces is genuinely harder and slower than flossing without them, especially in the first couple of weeks. Threading floss under a wire at every tooth takes patience, and a water flosser, while helpful, does not fully replace string floss between teeth. Anyone who says it is effortless has not done it.
The part that makes it manageable is that consistency beats perfection. A quick, complete daily pass protects enamel and gums far better than a meticulous clean done twice a week. The goal is every day, not flawless.
A few things make the habit stick. Floss at night when there is time, not in a morning rush. Pre-load five to ten threaders into a small pouch on the weekend so there is no fumbling on a tired night.
Keep a water flosser on the bathroom counter where it is visible, since a stored device gets forgotten. Pick whichever string-floss tool you will actually reach for; a Platypus you use beats a threader you avoid. Anchor flossing to an existing habit, like right before charging a phone, so it is not a separate thing to remember.
For a fuller picture, this post is one part of the Limestone Hills braces hygiene set. Pair it with brushing technique in How to Brush Your Teeth with Braces, the full daily and weekly routine in How to Clean Your Braces, and clearing trapped food fast in How to Remove Food from Braces. Together they cover the whole hygiene routine that protects a case from bonding to braces removal.
Austin and the Hill Country
Limestone Hills coaches flossing technique for braces patients across Austin and the surrounding Hill Country, including Lakeway, Cedar Park, Round Rock, Bee Cave, and Westlake. The technique itself is universal; it does not change by neighborhood or by which braces a patient wears.
The practical advantage of an orthodontist-led practice is hands-on coaching. The team demonstrates the threader pass and the Platypus tip in person at the bonding appointment and sizes the starter kit to the case.
Gum health is checked at every adjustment so a flossing gap gets caught early, while it is still reversible. A free consultation is the step that turns this guide into a plan specific to the patient. More on treatment is on the braces page.
Common Questions About Flossing with Braces
How do you floss with braces?
Pull a strand of floss under the archwire at each tooth, then clean both sides of the contact point the way you would without braces. A plastic floss threader or a stiff-tipped orthodontic floss carries the floss beneath the wire. Work tooth by tooth, hug the floss against each tooth in a C-shape, and reach gently under the gumline. Floss at least once a day.
What is the best floss for braces?
There is no single best tool; the best one is the one used daily. A floss threader with waxed floss is the lowest-cost option. Orthodontic floss with a built-in stiff end is faster because there is no separate threader. Platypus-style ortho flossers slide under the wire with a flat tip and suit many adults. A water flosser is a strong daily adjunct that supports these but does not replace string floss between teeth.
Is a Waterpik enough to floss with braces?
A water flosser like a Waterpik is a useful daily adjunct, not a full replacement for string floss. The pulsed water stream rinses food and loose plaque from around brackets and under the wire, but it does not break the bacterial film at the tight contact point between two teeth the way floss physically does. The strongest routine uses both: string floss for the contacts, water flosser along the gumline.
How often should you floss with braces?
At least once a day, and more thoroughly than before braces because brackets and wires add surface area where plaque collects. Most patients floss at night when there is time to work tooth by tooth. A water-flosser pass after lunch helps clear trapped food between full sessions. Consistency every day matters more than a perfect but occasional clean.
Why does flossing matter more with braces?
Brackets and wires trap plaque against the enamel and along the gumline. Plaque left there causes gum inflammation and white-spot decalcification marks that can stay permanent after braces come off. Dr. Viecilli’s clinical observation at Limestone Hills is that patients who keep daily flossing through treatment have healthier gums and cleaner enamel at removal than patients who rely on brushing alone.
Sources. Standard orthodontic hygiene guidance on flossing technique with fixed appliances, floss threaders, stiff-ended orthodontic floss, Platypus-style ortho flossers, and water-flosser adjunct use, stated qualitatively. Specifics that could not be independently verified are stated qualitatively rather than as exact figures. Clinical observations from Limestone Hills Orthodontics, Austin, TX.